Rear Suspension
Home Page
NEW!!! 1 TON AXELS, Front Dana 60 and rear Corp. 14 bolt Axles
NEW!!! Front SOA, Outboard, Reversed Shackle Suspension
NEW!!! 1/4 Elliptical Rear Suspension
'72 350cu.in. Chevy
Dana 20 T-case
'77 CJ5 Fiberglass Body
So does it work?
More Photos
Talk to me
Rear 1/4 Elliptical Suspension

This is a great type of suspension for the wheeling I do, which is mostly rockcrawling but it turned into a very involved installation but I'm very pleased with the end result. To be fair, I need to tell you that the combination of parts I was using is not the typical jeep setup so this played a large part in making it work.
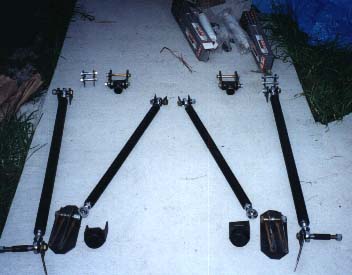
This is what's needed, other then the springs, axel hoop and diff ring. I got 4 control links, upper link brackets, lower link brackets w/ sleeved bolts (weld sleeves through frame), shocks and mounts, shackles and mounts, and bump stops

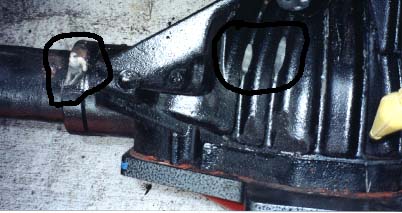
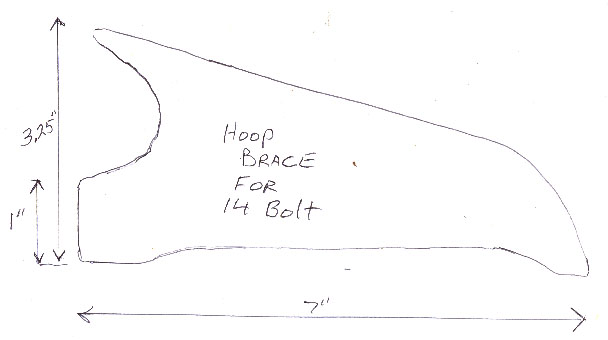
After removing the old axle and suspension, raised the jeep as high as i could and removed the gas tank to make some elbow room. The frist thing is to find the center line of the frame and the center line of the axle.*****You need to be certain the axel is centered and square in the frame at the correct wheelbase you want and the diff pinion needs to be pointed to the center of where the u-joint will be on the t-case output yoke. The Heim joints are right and left handed at opposite ends of each link so they can be adjusted in the same way as a steering tie rod. Make sure all the links have their heim joints screwed in about 3/4 of their total thread length. . This way you'll be able to fine tune the axel angles without bottoming out the threads and assuring you have enought thread engagment.***** With this done, I tried the axel hoop for fit, at this point I realized I needed to get some more grinding wheels. The 14bolt housing is very large and offset to the drivers side and the highest point of the hoop must be centered on the axel. I needed to ether make a wider hoop or grind the housing. Seeing the axel came out of a 1.5 ton tow truck (Dually FF 14 bolt)I figured a little grinding (or alot)was not going to weaken it very much.
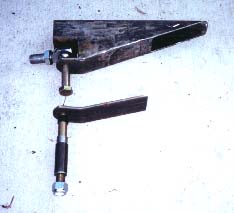
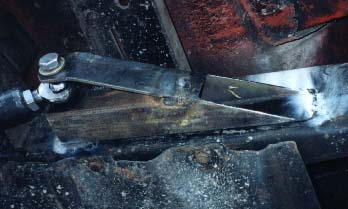
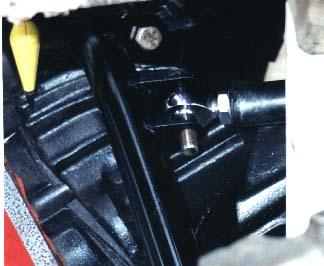
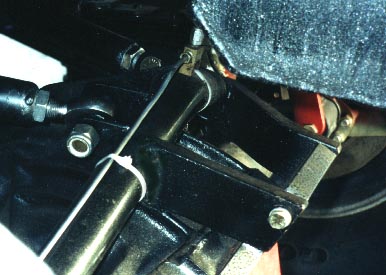
I made my brackets for the outside frame location. I needed to space the links away from the frame 2" to clear the springs when the suspension is compressed. The frist photo shows the bracket I made. I use a longer bolts to go through the sleeved frame and the sleeved bracket.
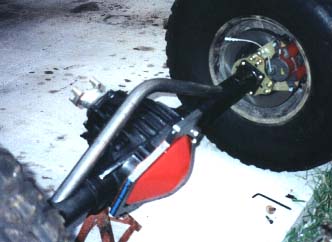
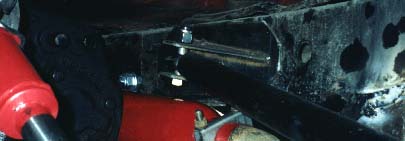
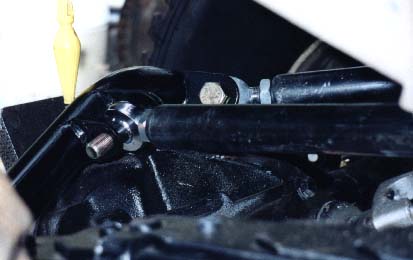
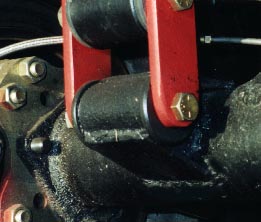
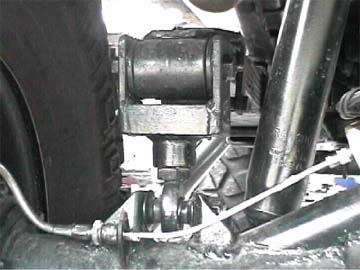
I wanted to mount the lower link to the axel as close to the outside as I could but the caliper mounting plate was in the way. So i made some longer brackets and bolted one to the caliper mount and welded the other to the axel, the idea was, if my weld ever lets go, the bolt will hold it together so the axel at least stays under the jeep. The mount point in the bracket for the Heim joint must be below the center line of the axel tube. Its hard to tell in this photo but the Heim joint is 1 1/2" below the center of the axel tube.
The frame brackets for the upper links are very nice pieces which weld the the inside of the frame, this is pretty straight forward.
Now, mounting the upper links to the hoop. For each heim, I used a short bracket and a longer one that I made and angled them to aim at the upper frame bracket. This gives the heim it full range of movement.
At this point its time to weld the hoop to the axel, you need to be certein the axel is centered in the frame and all the links have their heim joints screwed in about 3/4 of their total thread length.
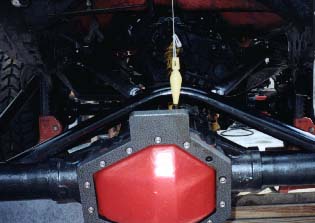
There is another brace that is welded to and connecting the diff housing and hoop between the two upper link mounts.
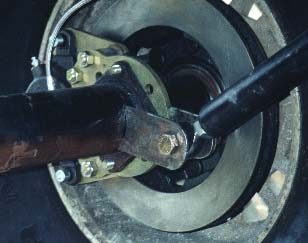
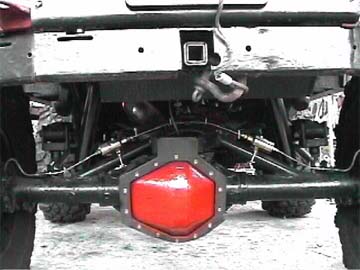
The diff ring is from Avalanche which I think is part of their new kits. I use 3/4" bar stock to make the brace from the ring to the hoop because the ring is also 3/4" and it looks better. Because of the offset diff, the diff ring didn't line up with the center of the hoop so I put a bend in one brace to offer support directly behind each upper link bracket. Very nice powdercoating on the diff ring.
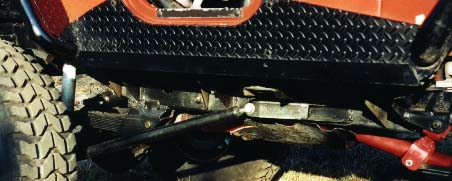
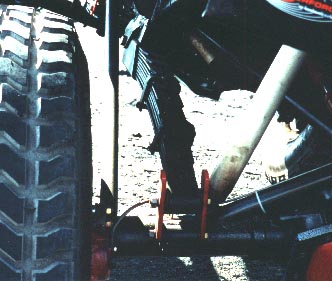
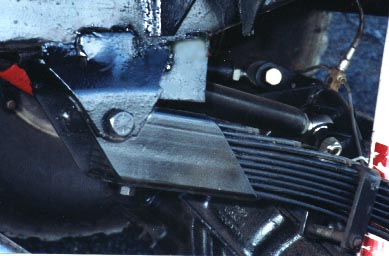
The Alcan Spring packs are of the highest quality, with teflon buttons secured between each leaf. The two clamps on each spring allows the spring separate but not fan out, with a bump stop pad welded to one of them. The mounting end of the packs has a cool box holding the pack together and allows for the uses of the stock spring hanger. I needed to make a stop that set the height where I wanted it. The mount is designed to "hinge" down to allow extreme droop. This needs to be limited by limiting straps. The rear suspension well flex so easily that the front will only flex a little until the limiting straps stop the rear. The other end of the spring is shackled to the axel to allow for the different arch the axel and the spring end travel in.
The next thing I'm checking into is making a shackle mount that will rotate with the axel to keep the springs from having to twist when the axel droops.
I have changed a few things lately, I've made new, longer links that move the axle back another 5". This increases the wheelbase to 92", this is a 1/2" less then a CJ7. I also changed the solid mounted rear shackles to a shackle that uses a Heim joint on the lower half of the shackle. This allows the axle to articulate without twisting the springs.