

Before and After Shots:
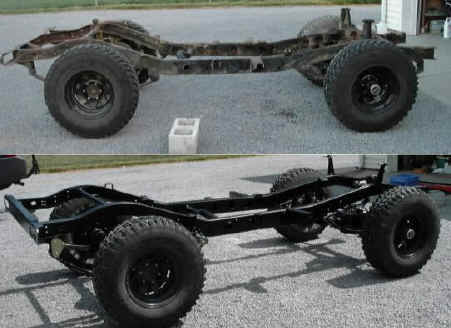


I had the frame sandblasted by a local shop. I highly recommend outsourcing almost all sandblasting work. It's messy, time consuming, and a major hassle unless you have a monster compressor. The shop had my frame sandblasted in about 2 hours for roughly $150.

I was already satisfied with the blasting work when the shop offered to let me borrow this crude but effective rotisserie to use while painting the frame. How cool is that?

Below, I've applied two good coats of POR15 gray. I read several recommendations to use gray for the first coat before topcoating with black. After following this plan, I would never do it again. Use black from the first coat.


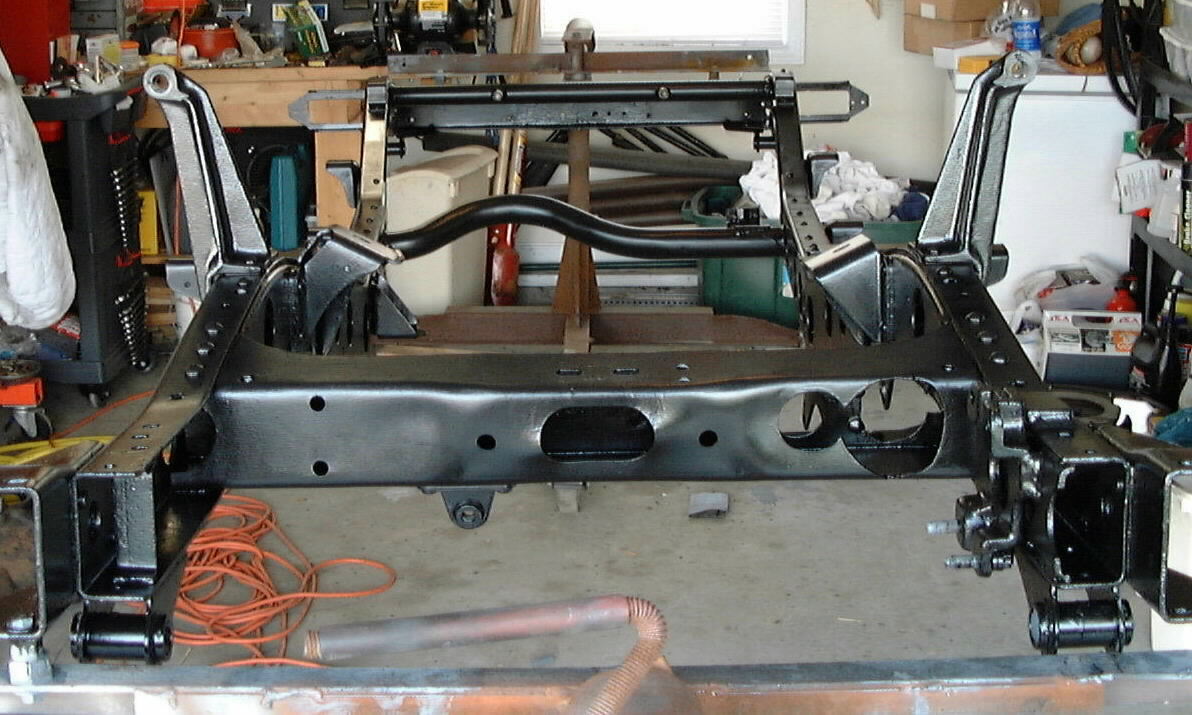
After two coats of POR15 Chassis Coat Black:
![]()
![]()
I used a variety of tools to get every inch of the frame covered during both coating steps. Besides standard brushes, I used the items shown below. The bottle brush was used on the inside of the frame rails. The basting brush with the bent wire handle was used to get inside the frame rails just above and below the large holes in the side. I went back over everything with a drop light and a little mechanics mirror to make sure I had covered every last bit.

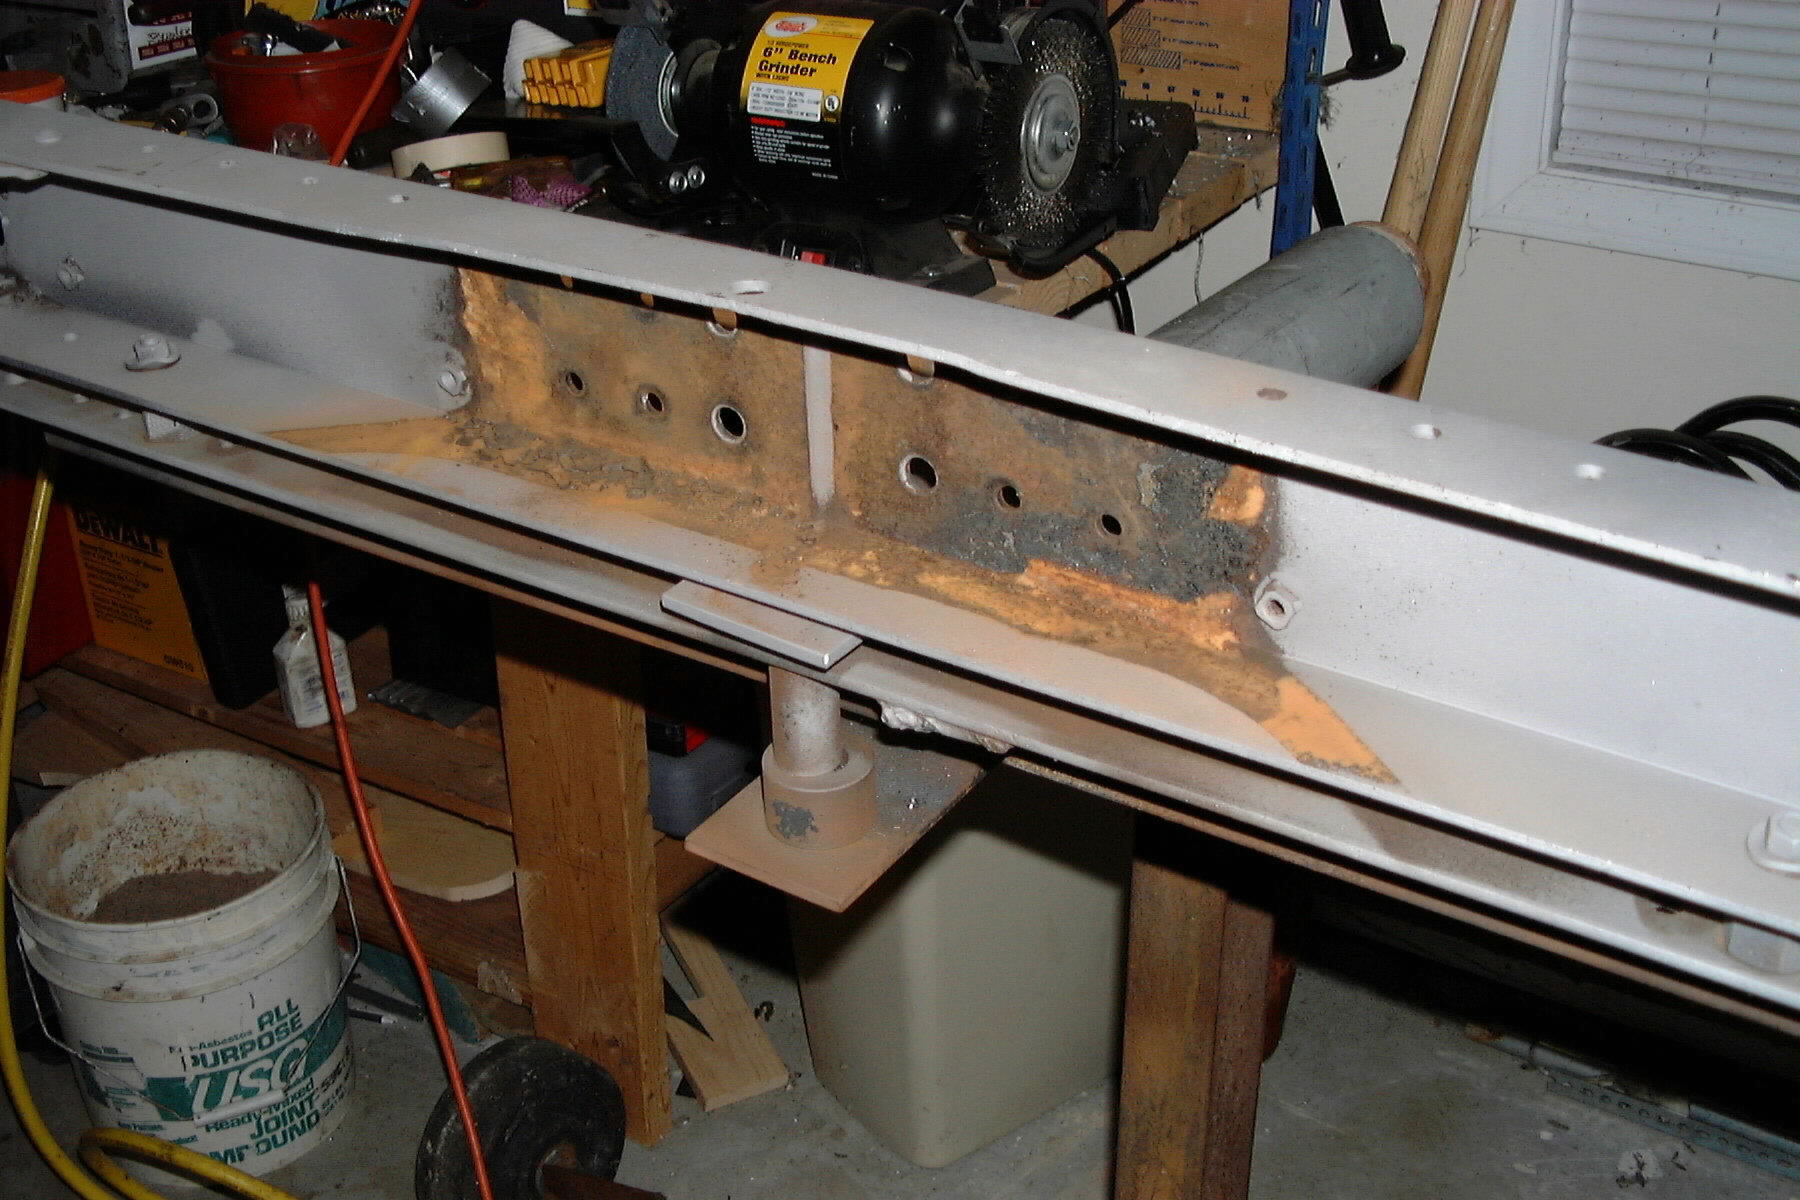
This is a close up of some rot in the rear gussets. I removed the stock gussets prior to coating the frame with POR15. I ordered new bolt in gussets from Cruiser Solutions. The third shot shows the new gussets along with other misc. chassis parts after sandblasting and POR15. The fourth shot shows the new gussets installed.

![]()
![]()
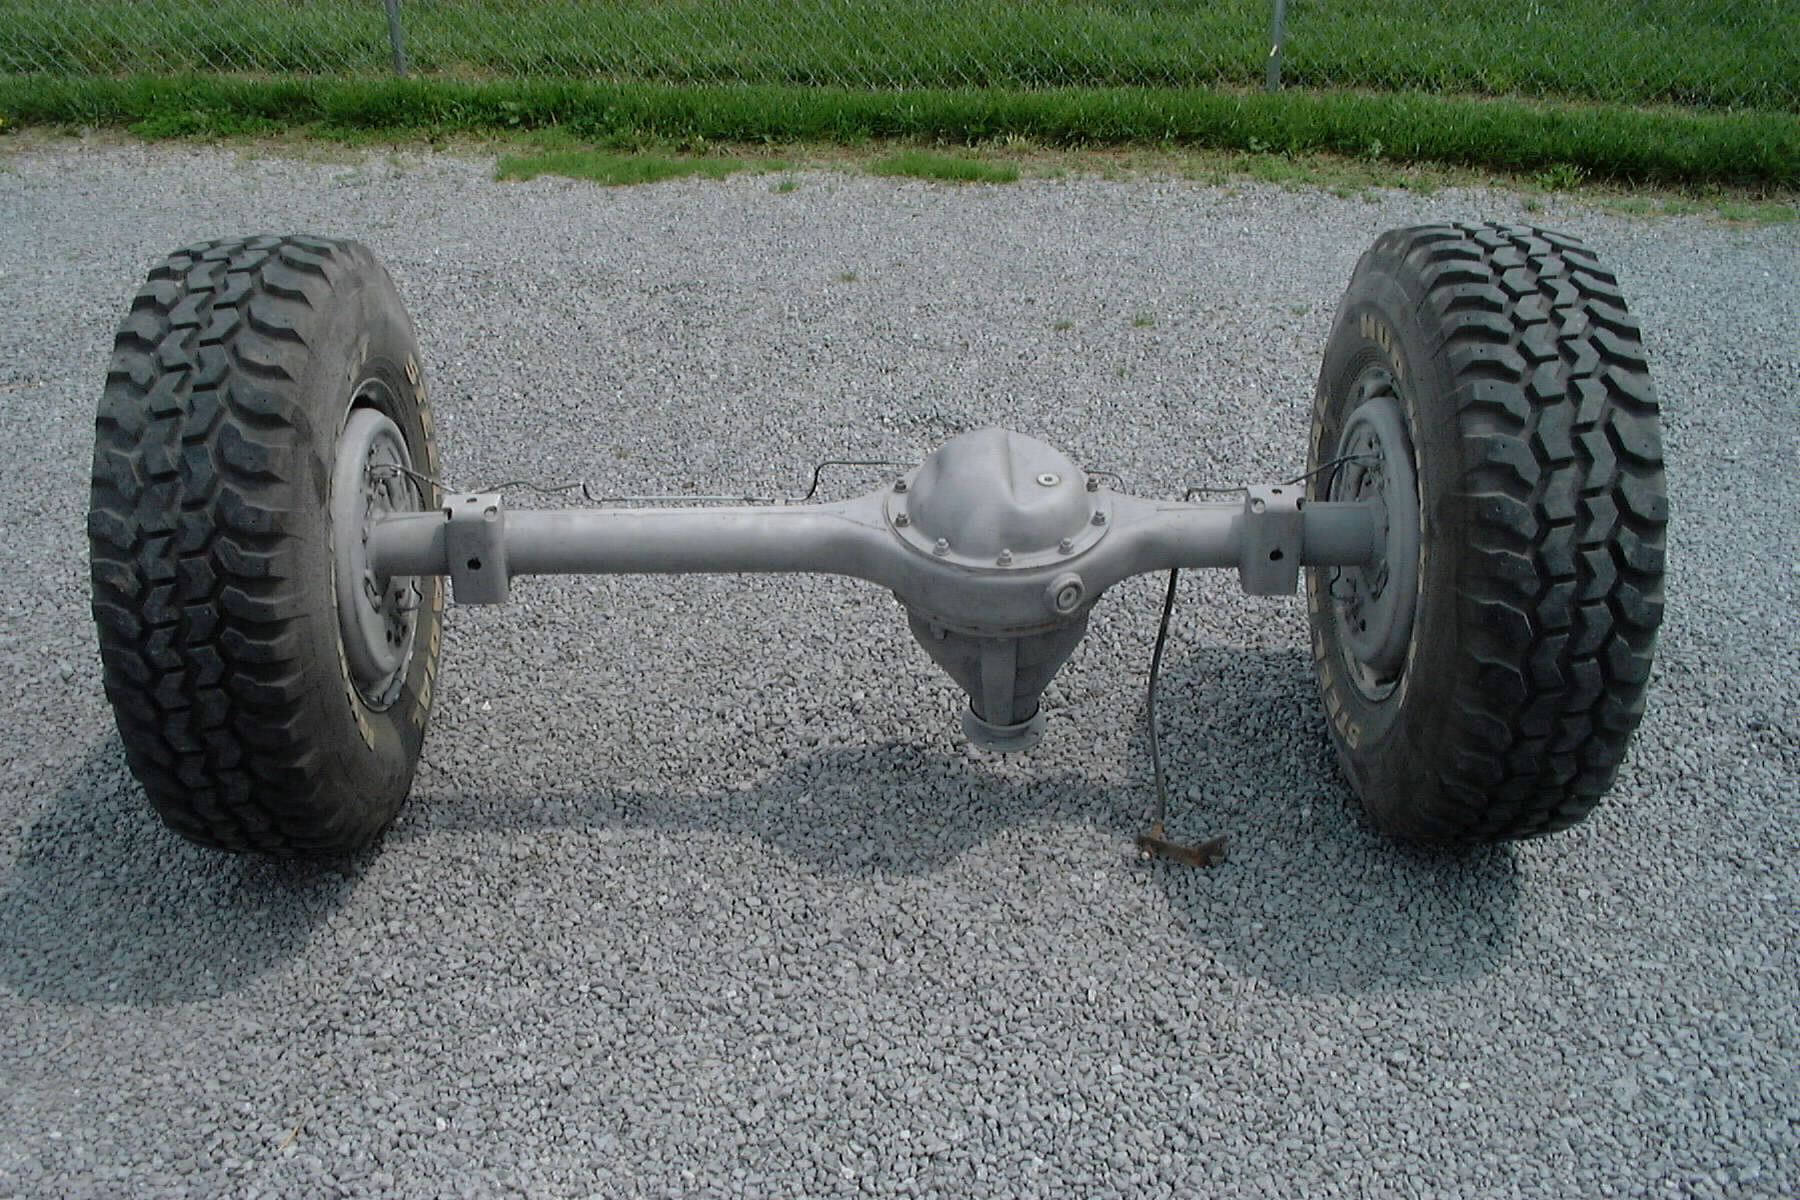
I'll include the axles on this page as well. The shots below are, in order, the rear axle before, sandblasted, zinc phosphate coated via Metal Ready, and after 2 coats of gray Zero Rust. I used Eastwood's Chassis Black aerosol for the final two coats. The front axle received the same treatment.


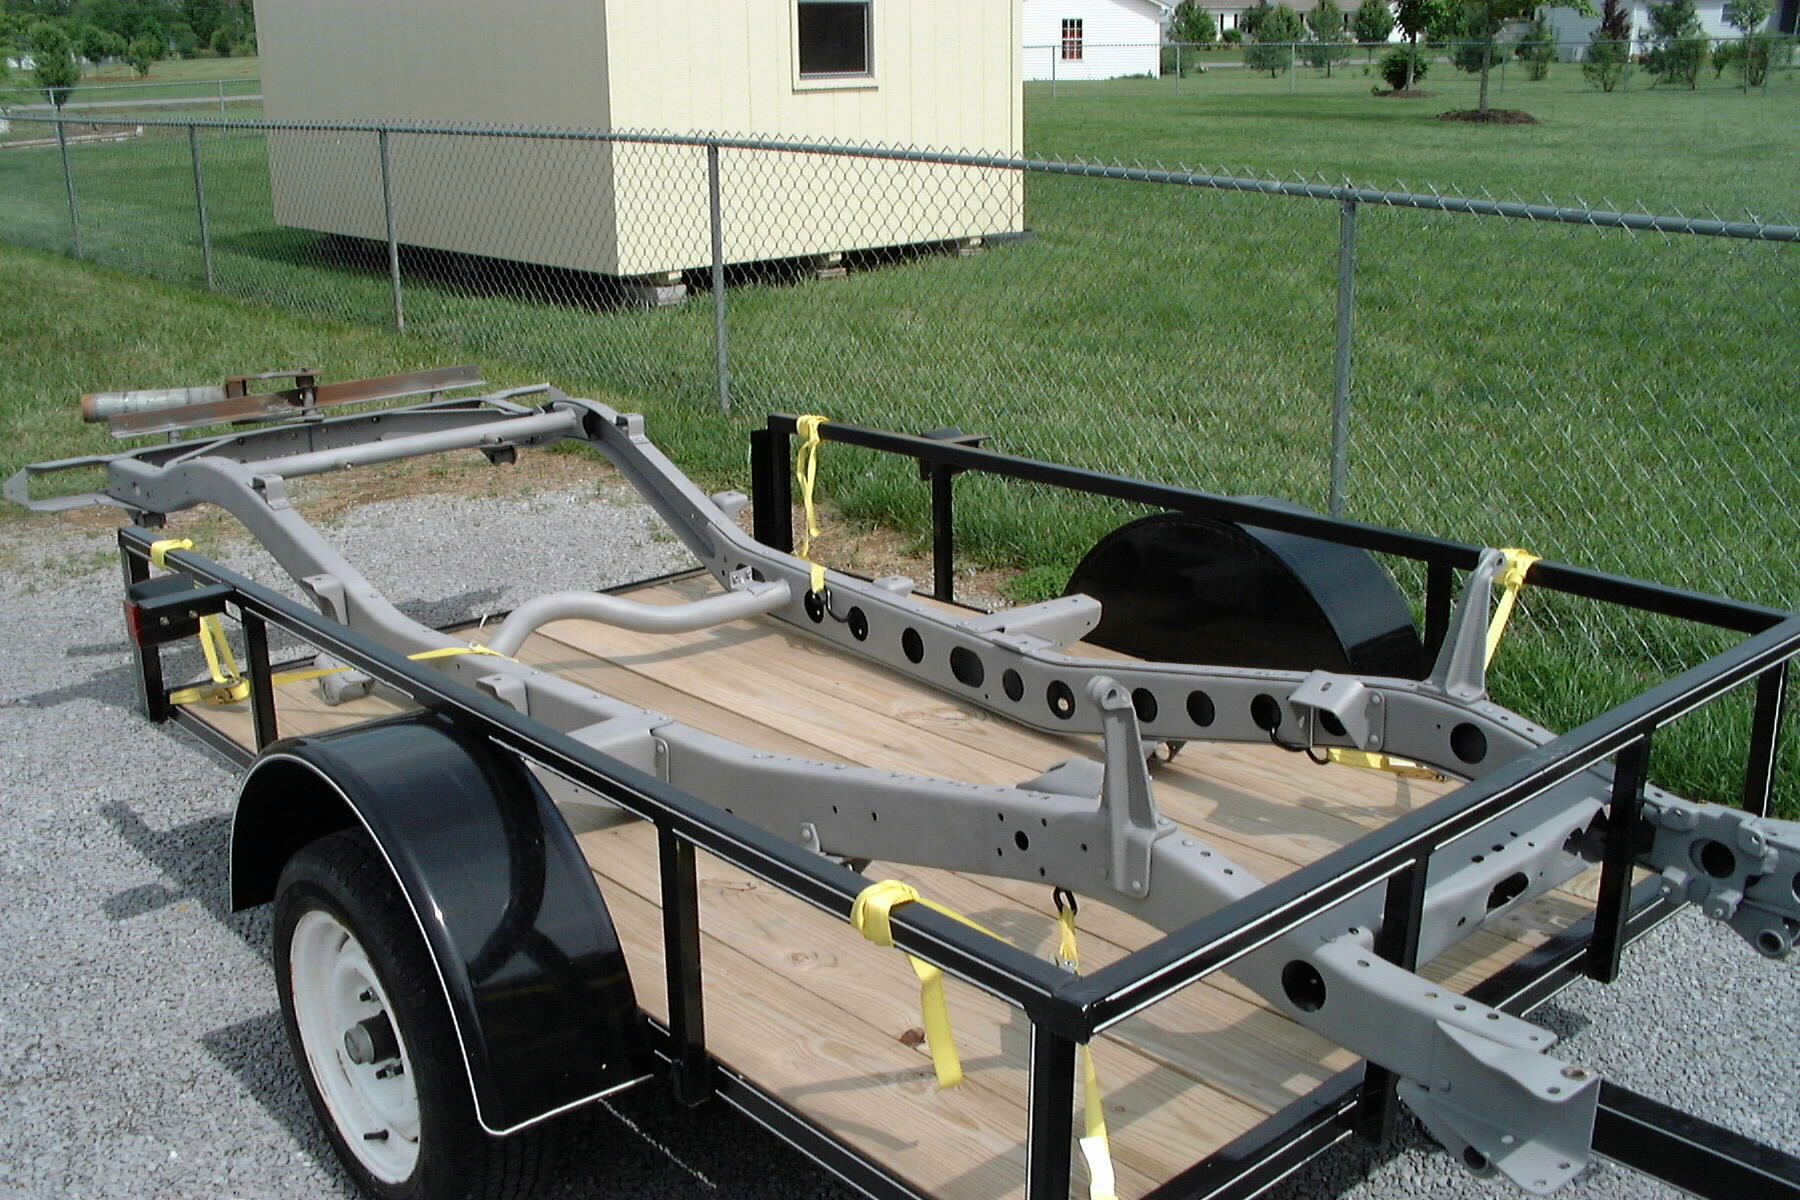
Here are a few more after shots of the chassis with a 2.5" TPI Smoky Mountain Suspension installed. All the u-bolts, nuts, washers, etc. were coated with black Zero Rust.

![]()