|
Making Useable Frames
|
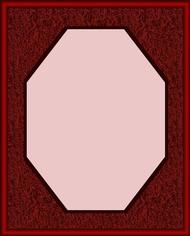
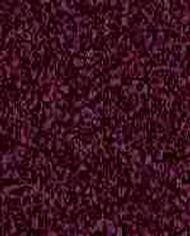
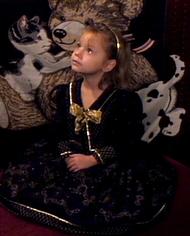
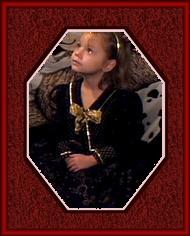
This page is a more detailed explanation of the process of making a picture frame and is designed to go along with my tutorial on making picture frames.Below are the images I will use to demonstrate this.Note:I have already resized them to 190x236.The frame needs to be the same size as the photo.
|
|
|
|
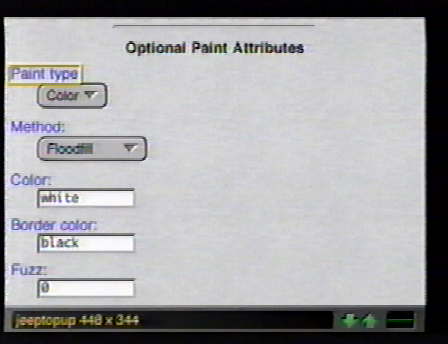
Go to Image Magick and enter the URL of the frame and select view.On the view page you will notice there are paint options on the page.I will use the first frame and demonstrate how to make the center transparent so I can composite it over my photo and have my photo show through where the pink portion is.
|
|
|
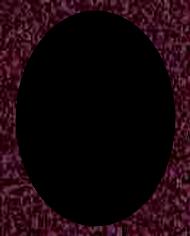
On the view page,under Paint type,click on the color pulldown and select matte.The method should be floodfill.I delete the color and border color because they are not needed.Now click on the image above where it saysOptional Paint Attributes and an arrow should appear on the image.Use the arrow keys to move the arrow to the part of the image you wish you wish to paint.In this case,it would be the pink portion in the center of the page.It should then reload the page with the image painted.If you do not get te results you are seeking,press the back key and make corrections.You should get an image such as the one below.
|

|
|
Go to the top of the page and select output.When the next page loads,select gif as the format and single image file as the method.If you select jpg,the transparent portion will revert back to non-transparent.Select output below,and when the next page loads,click on the small image and transload it to your site as a gif.
|

|
|
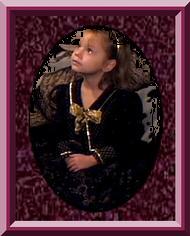
We are now ready to composite the frame over the photo.Go to Image Magick and enter the URL of your photo and select view.When it loads,select composite at the top of the page.On the composite page,enter the URL of your frame,leave the location on center leave the mode on over and select composite.You should have an image like the one below.Select output at the top,when the output page loads select gif or jpg (I normally go with jpg on photos,but if you want to use it in e-mail,go with gif.A gif file will be larger than a jpg file though).Use single image and select output below.When the next page loads,click on the image and transload it to your website.
|
|
|
Now we will take the second image and make it in to a frame.Go to Image Magick,enter the URL,and select view.At the top of the next page,select draw.
|

|
|
Click on the primitive pulldown and select fill elipse.I am going to create an oval with this and make it black.I can then put a frame around it or keep it the way it is,then I will use the paint function to turn the center transparent.I use black because there may show traces of it around the edges and black doesn't show up much.Now I will figure the dimensions of the elipse.The dimensions I use for this example will be 95,118 160,216 0,360.The dimensions of the frame are 190x236.I divided the two numbers in half to get the center.This is the first two numbers(95,118).I usually stay about 20 off width and height(dependent on the photo)so I chose to make it 160 wide by 216 high.These are the center numbers.You want it enclosed so to make it run from 0 degrees to 360 degrees.This is the third set of numbers.Under the optional drawing atributes at the bottom of the page,enter the color
(I chose black)and the linewidth doesn't matter in this case.Select draw and an image as below should load.On
the second image,I went to decorate and put a frame around it.I then had to resize it back to 190x360.If you want to frame it,do it at tis point because the transparent background will mess it up if you wait until after you make the center transparent.
|

|
|
You can now go back to the top of the page and follow the instructions to finish the image.You should end up with photos as below.
|
|
wintermist@webtv.net
|