Weekend Warrior!
I've only just gotten started on this, but I own most of the parts already. This is the first robot on which I am going to be making most everything, as opposed to Mike making everything. What I've learned so far: If you suck at machining, Lexan is your freind.
This robot is going to feature an ALL 1/4" lexan body, milled out to save weight, and 2 handiworks for drive until I see my final weight and see if I can possibly move up to modified HF drills.
I've named this for how the work progresses on it. In an effort to keep from getting over excited and moving to quickly, which would cause something to get ruined, I'm limiting myself to just a few hours work each weekend. Usually just accomplishing one major job. So, the name is Weekend Warrior.
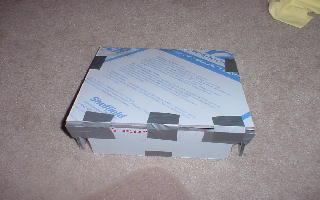
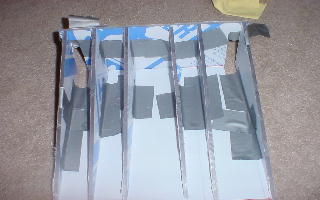
Week One Work: Cut Body Pannels.
Status: Done
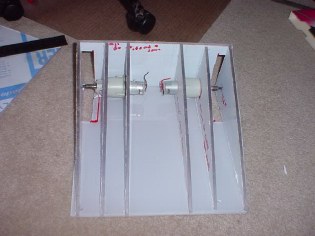
Week Two Work: Drill out drive motor mounts.
Status: Completed.
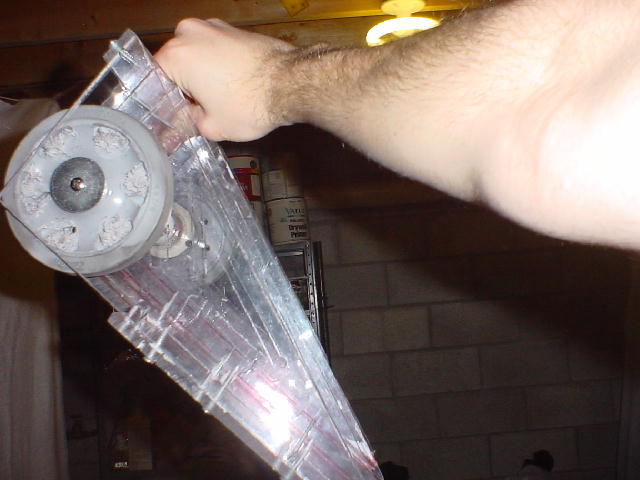
Info: The mounts went in a LOT easier than I expected. About 2 hours work, maybe less. One of them has a little play in it, but I think I can clear that up with a little epoxy or something when the time comes. They are all completely even, which is a miracle for me. Nothing ever lines up anywhere near right. This thing may be my own personal first successful building project! I used a drill and a dremel to create these. For the end holes, where the screws pass, I went with 1/4", which fits, but will need to be widened for some brass bearings. The midline mounts, for the gearbox's square section was made with both a drill and a dremel. This was the hardest part, but worked well. The end holes, for the motors, were made with a 1 1/8" Woodbore bit. This worked well, but if you try this, move the bit VERY slowly to prevent a lot of curled plastic film from seizing the bit.
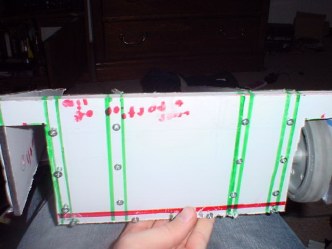
Work Week Three: Widen wheel wells, begin holes for frame screws (multiweek project expected)
Status: 33% Completed
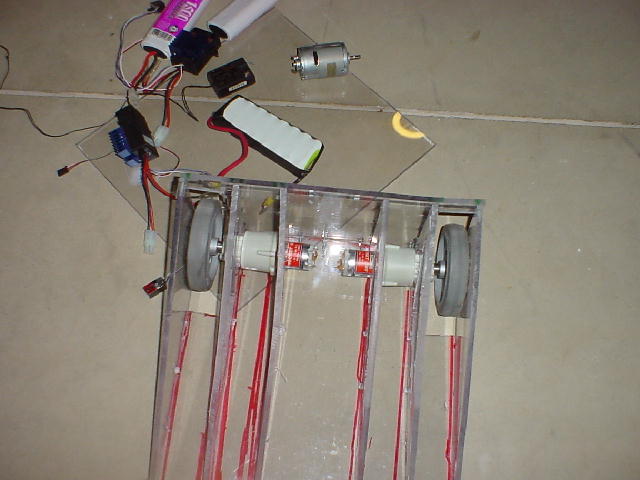
Info: Today I drilled holes for and mounted the back plate to the base plate and all of the main frame rails to the back plate as well. It went suprisingly great, and I only had ONE tearout, which was very amazing to me since I was boring into 1/4" lexan with a plain, corded AC hand drill. I was certain the angles would put me out all over. But NOPE!!! I mounted everything together with 6x3/4" wood screws, which worked FANTASTICALLY. I tested a practice peice by making a joint with 2 of them, spaced about 4" apart, mounting it in the vice and nailing it with a hammer. It must've taken 15 bench moving blows before the thing finally broke. And that was with the force spread across only one screw (the other was in the vice). So, that should be good. All Together, I put 19 screws into the thing today. Everything lines up nicely. I can see now aht one of the frame rail warped when I was cutting it, I think, but i can bend it back when I actually attach them down to the baseplate.
Unfortunatly, I ALSO discovered that one of my handiworks was somehow damaged. I can't seem to find a source for Handiworks alone, So I ordered some very similar Rocket 400 motors which I'm going to pop onto the gearboxes, and I should be all set.
Work Week Four: Continue frame drilling, mounting. Likely complete base plate mounting.
Status: 33% Complete
Work Week Undefined. :P :
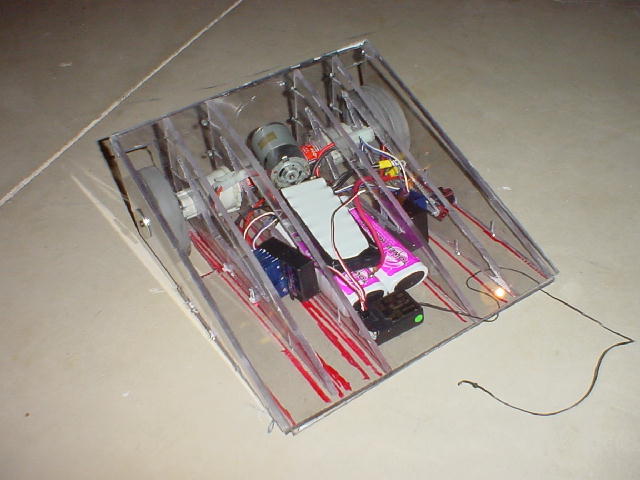
Update! 3/24/04 - Caught the bug again, and got back to work. Suddenly things were moving really swiftly! Tonight I attached the base completely, and remounted some of the other plates so they fit in there a little better. I need to pick up a new Soldering Iron, and then I should be all set to give this son of a gun a test drive!
I also sized all the parts tonight, and it looks like everything is going to fit!
WHOO!
Some changes have resulted in this becomming a 911esque bot, but I think I really like it like that.
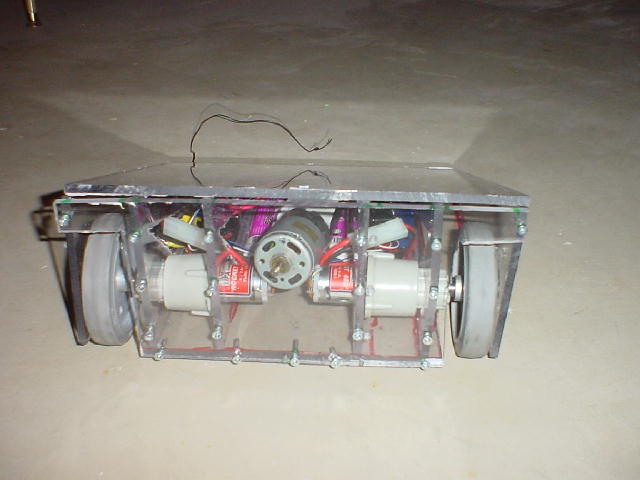
Status: 70% Done. Drivetrain and control systems completed. Wiring to test in the next couple of days.
Update: 3/25/04- Fully successful drive test tonight! After wiring up the motors, early drive tests revealed that the side pannels were rubbing on the wheels, so they've been cut down so they don't touch the wheels. Shouldn't really effect the end strength much. After being cut down, the old LH screws fit deep enough to hold the wheels in, so a full drive test could be conducted. It drives responsively and fast, though it's a bit difficult to handle with the AM 2-CH. I'll be getting the 6-FM back in the next couple of days, so that should be good. Also, I think one of the ESC's needs a little trimming out.
That said, it runs! It runs, and runs as it should. With out a doubt, the most successful drive test of any of our bots to date. Video comming once I get the 6-FM and trim out the ESC.
Update 3/29/04- Did some finalizing work last night and today. The top pannel was drilled and attached, as well as painted, among some other work. The paint job just came out VERY unnacceptable, but It's too late to remove it. I'll probably order another Lexan pannel soon and repaint it, hopefully properly. Oh well, it'll be good to have an extra on hand.
That said, I'm pleased with my progress. I hope you all are too.
Update 5/05/04- I have been driving the bot a bit, but for whatever reason, the mixer will not work. I'm gonna grab a new one from Robot Marketplace here in the next few weeks, and that should clear up my eratic driving, which I have a video of added in this post. You can check that out, if you're into that, Here. Of course, it's just a bot driving around, but none the less, I'm fairly proud of it. In truth, it's my first bot. All I've done in the past is help design. I've not built anything, to speak of. So the fact that it works, and works well, makes me a very happy camper. I need to get some ball transfers, to stop that scraping you can hear in the video, but in the meantime, duct tape and some male electrical connectors do their job well enough. It looks like I'm actually going to have to build the weapon myself too, so I'll probably get on that pretty soon.